
Why Proxmox VE Is Ideal for Private Cloud
Proxmox VE is a powerful open-source virtualization platform that simplifies building and managing private cloud infrastructure. It combines KVM hypervisor and LXC containers in a single platform, includes out-of-the-box high availability clustering, snapshots, backup, and a slick web GUI—making it perfect for on-prem setups.
- Unified KVM + LXC support
- ZFS and Ceph integration
- HA clustering & live migration
- Built-in backup & rollback
- Web GUI and REST API
Proxmox gives you enterprise cloud features without vendor lock-in—ideal for building AWS-like environments on dedicated hardware.
ISO Download, Server Preparation & Bootloader Config
Download the ISO
To install Proxmox VE, download the ISO from proxmox.com.
- Check the latest version (e.g. 7.3.5+), SHA256 sum.
- Burn to USB (Rufus, Etcher) or mount in iDRAC/iLO.
Server hardware prep
- Ensure BIOS supports virtualization (Intel VT-x, AMD-V).
- Enable virtualization & IOMMU/VT-d.
- Confirm ECC RAM, RAID disabled in BIOS (ZFS needs direct disks).
Bootloader config
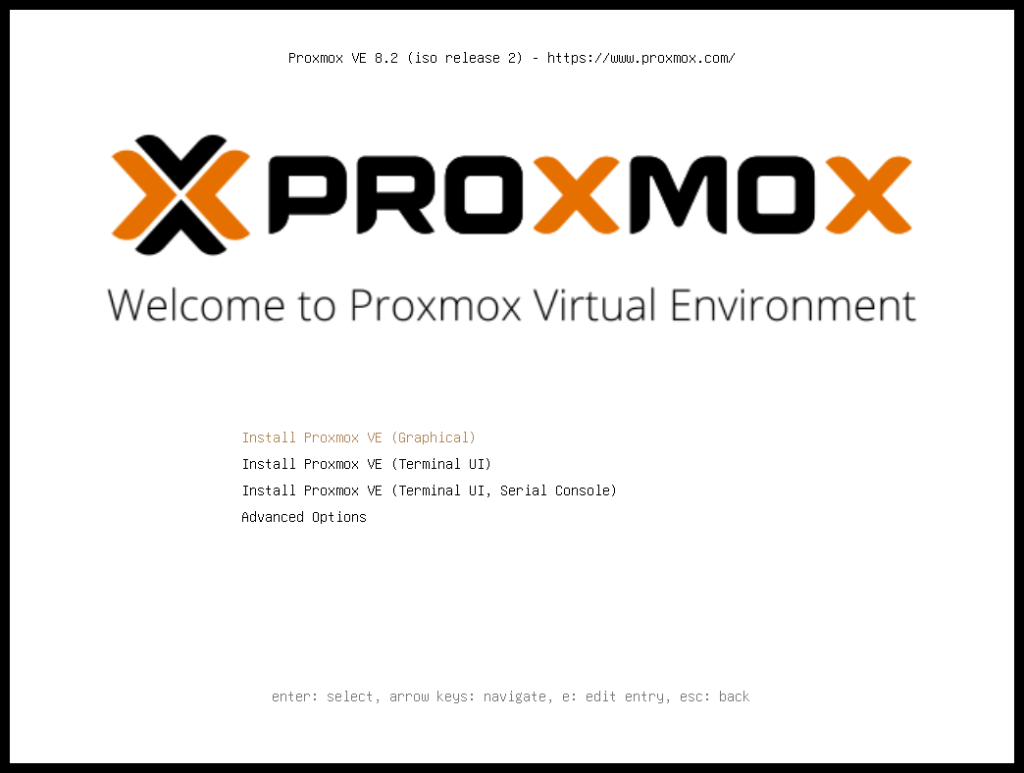
- Boot from USB → choose “Install Proxmox VE.”
- Troubleshooting: legacy vs UEFI settings; disable Secure Boot; NVMe support.
Partitioning & boot
- Uses GPT partition: EFI, root (ext4), swap.
- Automates most partitioning—fine to manually customize for ZFS-only setups (use entire disk).
Guided Install Walk-through
Welcome screen
- Accept license (AGPL).
- Select target disk(s): choose single for simplicity or multiple for ZFS-LVM later.
- Country, keyboard, timezone.
Admin credentials & network config
- Assign static IPv4, gateway, DNS—critical for GUI and clustering.
- Hostname (e.g.,
pve-control-01.domain.local).
Installation progress
- Formatting, OS setup—takes 5–10 minutes.
- Reboot when prompted; remove USB.
Post-install sign-in via console
- Confirm network, update
/etc/hosts.
First login to web GUI
- Point browser to
https://<ip>:8006 - Bypass cert warning, use root + password.
Storage Configuration: ZFS, LVM, Ceph Overview
ZFS
- Advantages: data integrity, snapshots, compression, RAID‑Z.
- Creating ZFS pool via Web GUI or CLI.
- Example CLI: bashCopyEdit
zpool create -f -o ashift=12 rpool /dev/sda /dev/sdb - Datasets for VMs, backups; snapshot explains
zfs snapshot.
2. LVM
- Simpler by default for smaller setups.
- Use logical volumes for VM disks.
- RedHat LVM or Debian’s thin provisioning.
3. Ceph
- Distributed storage for scale-out.
- Nodes (OSDs), MONs, Pools.
- Approx steps: deploy ceph-mon, ceph-osd via GUI; verify
ceph -s. - Ideal for multi-node redundancy.
Choosing Storage Model
- Solo nodes → ZFS.
- Medium clusters → ZFS + NFS.
- Large clusters → Ceph.
Network Setup & Web GUI Configuration
Network Basics
- Management network (web GUI)
- VM network(s)
- Storage backend network (optional VLAN)
GUI network config
- Navigate to Datacenter → Node → Network.
- Add:
vmbr0bridging eth0.- Bonded interfaces (e.g., eth1 + eth2 via LACP).
- VLAN interfaces (vlan-aware bridges).
CLI tools: ip, bridge, ifupdown2.
- Example snippet in
/etc/network/interfaces.
DNS & Proxy Config
- Use
pveproxy - Manage external network (
/etc/pve/datacenter.cfg).
Best Practices: Backup, Updates, Remote Access
Backups
- Use built-in backup tools; schedule via GUI or
vzdump. - Off-site copies (external NFS, ISA).
- Snapshot vs full backups.
- Restoration steps: Shift + D in GUI.
Updates
- Add enterprise repo or use
pve-no-subscriptionrepo. apt update,apt dist-upgrade.- Reboot after kernel upgrades; start with a test node.
Cluster & HA
- Use 3+ control nodes for quorum.
- Add nodes after initial node; GUI → Datacenter → Cluster.
- Migrate VMs live.
Remote Access
- Enable SSH, don’t allow root login; create admin user.
- Use FreeIPA/LDAP or AD integration.
- 2FA (TOTP).
- BMC/ILO/iLO remote console; firewall off only to trusted networks.
Wrapping Up: You’ve Installed Proxmox VE!
You’ve successfully installed Proxmox, configured storage and network, and set up best-practice backup and updates. Next, you’ll learn how to use PVE web UI, deploy VMs, begin clustering, and connect ARM VPS for distributed monitoring.