Build a Simple Content Delivery Network. A Content Delivery Network (CDN) is a system of distributed servers that work together to deliver web content more efficiently to users by reducing latency and improving load times. By caching content closer to end-users, CDNs enhance website performance, reliability, and scalability. While large-scale CDNs like Cloudflare or Akamai operate globally with massive infrastructure, you can build a simple, functional CDN using just three Virtual Private Servers (VPS). This article outlines the process of setting up a basic CDN using three VPS servers, covering the architecture, tools, configuration, and testing.
Understanding the CDN Architecture
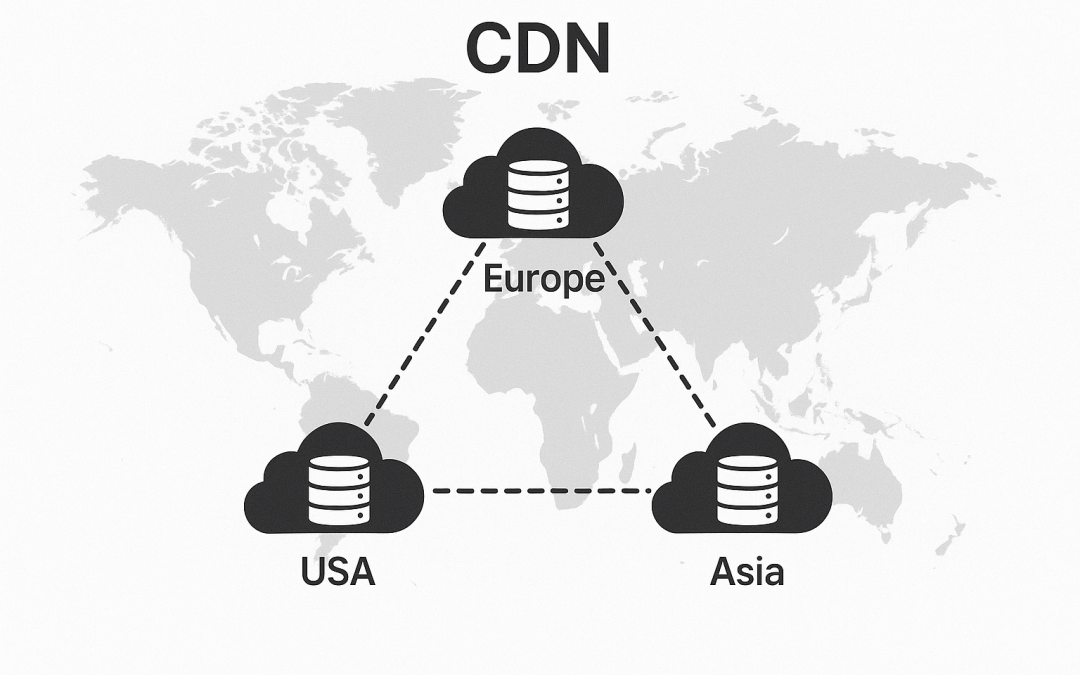
A CDN typically consists of an origin server (where the original content resides) and multiple edge servers (which cache content and serve it to users). For this setup, we’ll use three VPS servers:
- Origin Server: Hosts the primary website or content and serves as the source of truth for all content.
- Edge Server 1: Caches content and serves users from a specific geographic region.
- Edge Server 2: Another caching server, ideally located in a different region to reduce latency for users in that area.
This setup assumes you have a basic website (e.g., static HTML, CSS, JavaScript, images) that you want to distribute efficiently. We’ll use Nginx as the web server and caching software due to its simplicity, performance, and built-in caching capabilities. Additionally, we’ll configure DNS to route traffic intelligently.
Prerequisites
Before starting, ensure you have:
- Three VPS servers (you can get ARM VPS Servers here) running a Linux distribution (Ubuntu 22.04 LTS is recommended).
- Root or sudo access to all servers.
- A registered domain name for your website.
- Basic familiarity with Linux command-line tools, SSH, and DNS configuration.
- A static website or content to serve (e.g., HTML files, images).
Step 1: Set Up the Origin Server
The origin server hosts the original content and serves as the source for the edge servers. Let’s configure it.
Install Nginx
SSH into the first VPS (Origin Server) and install Nginx:
sudo apt update
sudo apt install nginx
Start Nginx and enable it to run on boot:
sudo systemctl start nginx
sudo systemctl enable nginx
Configure the Website
Upload your website files (e.g., index.html, images) to /var/www/html on the origin server. For example:
sudo mkdir -p /var/www/html
sudo nano /var/www/html/index.html
and add simple HTML to the file:
<!DOCTYPE html>
<html>
<head>
    <title>My Simple CDN</title>
</head>
<body>
    <h1>Welcome to My CDN-Powered Website!</h1>
    <img src="sample.jpg" alt="Sample Image">
</body>
</html>
Upload a sample image (sample.jpg) to the same directory.
Configure Nginx
Edit the Nginx configuration file to serve the website:
sudo nano /etc/nginx/sites-available/defaultUpdate the configuration:
server {
    listen 80;
    server_name origin.example.com;

    root /var/www/html;
    index index.html;

    location / {
        try_files $uri $uri/ /index.html;
    }
}
Replace origin.example.com with your domain or the server’s IP address. Test and reload Nginx:
sudo nginx -t
sudo systemctl reload nginx
Secure the Origin Server
Since the origin server should only be accessed by edge servers (not directly by users), restrict access using a firewall like ufw:
sudo apt install ufw
sudo ufw allow from <edge_server_1_ip> to any port 80
sudo ufw allow from <edge_server_2_ip> to any port 80
sudo ufw allow ssh
sudo ufw enable
Replace <edge_server_1_ip> and <edge_server_2_ip> with the IP addresses of your edge servers.
Step 2: Set Up the Edge Servers
The edge servers (VPS 2 and VPS 3) will cache content from the origin server and serve it to users. Configure both edge servers similarly.
Install Nginx
On each edge server, install Nginx:
sudo apt update
sudo apt install nginx
sudo systemctl start nginx
sudo systemctl enable nginx
Configure Nginx as a Reverse Proxy with Caching
Edit the Nginx configuration on each edge server:
sudo nano /etc/nginx/sites-available/defaultAdd the following configuration:
proxy_cache_path /var/cache/nginx levels=1:2 keys_zone=my_cache:10m max_size=10g inactive=60m use_temp_path=off;

server {
    listen 80;
    server_name edge1.example.com; # Replace with edge server domain or IP

    location / {
        proxy_pass http://origin.example.com;
        proxy_cache my_cache;
        proxy_cache_valid 200 301 302 24h;
        proxy_cache_use_stale error timeout updating http_500 http_502 http_503 http_504;
        proxy_set_header Host $host;
        proxy_set_header X-Real-IP $remote_addr;
        proxy_set_header X-Forwarded-For $proxy_add_x_forwarded_for;
        add_header X-Cache-Status $upstream_cache_status;
    }
}
Key settings:
- proxy_cache_path: Defines the cache storage location (/var/cache/nginx) and settings like cache size (10g) and inactivity timeout (60m).
- proxy_pass: Forwards requests to the origin server.
- proxy_cache_valid: Caches successful responses for 24 hours.
- add_header X-Cache-Status: Adds a header to indicate cache hits/misses.
Replace edge1.example.com with the domain or IP of the edge server and origin.example.com with the origin server’s domain or IP. Repeat this configuration on the second edge server, updating server_name to edge2.example.com.
Create the cache directory and set permissions:
sudo mkdir -p /var/cache/nginx
sudo chown www-data:www-data /var/cache/nginx
Test and reload Nginx:
sudo nginx -t
sudo systemctl reload nginx
Step 3: Configure DNS for Geographic Load Balancing
To route users to the nearest edge server, configure DNS with geographic load balancing. Use a DNS provider that supports geo-routing, such as Cloudflare or Route 53.
- Set Up DNS Records:
- Create an A record for origin.example.com pointing to the origin server’s IP.
- Create A records for edge1.example.com and edge2.example.com pointing to the respective edge server IPs.
- Create a CNAME record for www.example.com (or your main domain) and configure geo-routing to direct users to edge1.example.com or edge2.example.com based on their location.
- Example with Cloudflare:
- Add your domain to Cloudflare.
- Create A records for the origin and edge servers.
- Use Cloudflare’s Geo Steering or Traffic Manager to route users to the nearest edge server based on their region.
If your DNS provider doesn’t support geo-routing, you can use a round-robin DNS setup, but it won’t optimize for latency as effectively.
Step 4: Test the CDN
Verify Origin Server:
Access http://origin.example.com from an edge server to ensure it serves content correctly. You should see your website.
Test Edge Servers:
Access http://edge1.example.com and http://edge2.example.com from a browser. Check the X-Cache-Status header using browser developer tools (e.g., Chrome DevTools > Network tab). On the first request, it may show MISS; subsequent requests should show HIT if caching works.
Simulate Geographic Access:
Use a VPN to test access from different regions. For example, connect to a VPN server near Edge Server 1 and visit www.example.com. Confirm that requests are routed to the correct edge server.
Monitor Cache Performance:
Check the cache directory (/var/cache/nginx) on edge servers to verify cached files:
ls -l /var/cache/nginxStep 5: Optimize and Secure the CDN
Enable HTTPS:
Obtain SSL certificates for all servers using Let’s Encrypt:
sudo apt install certbot python3-certbot-nginx
sudo certbot --nginx -d origin.example.com
sudo certbot --nginx -d edge1.example.com
sudo certbot --nginx -d edge2.example.com
Update Nginx configurations to use HTTPS (listen 443 ssl).
Cache Optimization:
- Adjust proxy_cache_valid durations based on content update frequency.
- Use proxy_cache_key to customize cache keys for dynamic content if needed.
Security:
- Regularly update Nginx and the OS (sudo apt update && sudo apt upgrade).
- Limit origin server access to edge server IPs only.
- Implement rate limiting on edge servers to prevent abuse:
limit_req_zone $binary_remote_addr zone=mylimit:10m rate=10r/s;
location / {
    limit_req zone=mylimit burst=20;
    proxy_pass http://origin.example.com;
    ...
}
Step 6: Scaling and Maintenance
This simple CDN can be scaled by:
- Adding more edge servers in different regions.
- Using a load balancer (e.g., HAProxy) for each region if multiple edge servers are added.
- Implementing cache purging for content updates (e.g., using Nginx’s proxy_cache_purge).
Regularly monitor server performance, cache hit ratios, and logs (/var/log/nginx/access.log) to ensure optimal operation.
Conclusion: Building a Simple Content Delivery Network (CDN) with Three VPS Servers
Building a CDN with three VPS servers is a practical way to understand CDN mechanics and improve website performance on a budget. By configuring an origin server and two edge servers with Nginx, leveraging DNS for geographic routing, and implementing caching and security measures, you can create a functional CDN. While this setup lacks the robustness of commercial CDNs, it’s an excellent starting point for small projects or learning purposes. As your needs grow, consider integrating commercial CDN services or expanding your infrastructure for greater scalability and reliability.
This article provides a foundation for setting up a simple CDN. With careful configuration and testing, you can deliver content faster to users worldwide, even with just three VPS servers.
Power Your Projects with vpszen.com VPS Solutions
Looking for reliable hosting to run your Linux servers and host your next big project? VpsZen.com has you covered with top-tier VPS options tailored to your needs.
Choose from ARM64 VPS Servers for energy-efficient performance, or Root VPS Servers for virtual servers with dedicated resources.